
Breaking edges and hollowing bodies
Chamfer and fillet on chosen edges, walls of equal thickness for boxes, cups and cases.
Ten rozdział nie jest jeszcze przetłumaczony na polski. Poniżej tekst angielski.
Chamfering and filleting edges
Sharp edges rarely look good on a printed part, and they are not particularly strong either. A chamfer cuts the edge off at an angle, a fillet rounds it. Both act on the edges you click.
- Select the body (or the group).
- Click „Zaokrąglenie” or „Fazowanie” in the ribbon, press B for the fillet or Shift+B for the chamfer, or right-click the body and pick it from the menu.
- The body's edges light up. Click those that should be affected. Another click takes an edge out again. With Shift you add or remove a single edge.
- Set the size and confirm with „Zastosuj” or Enter.
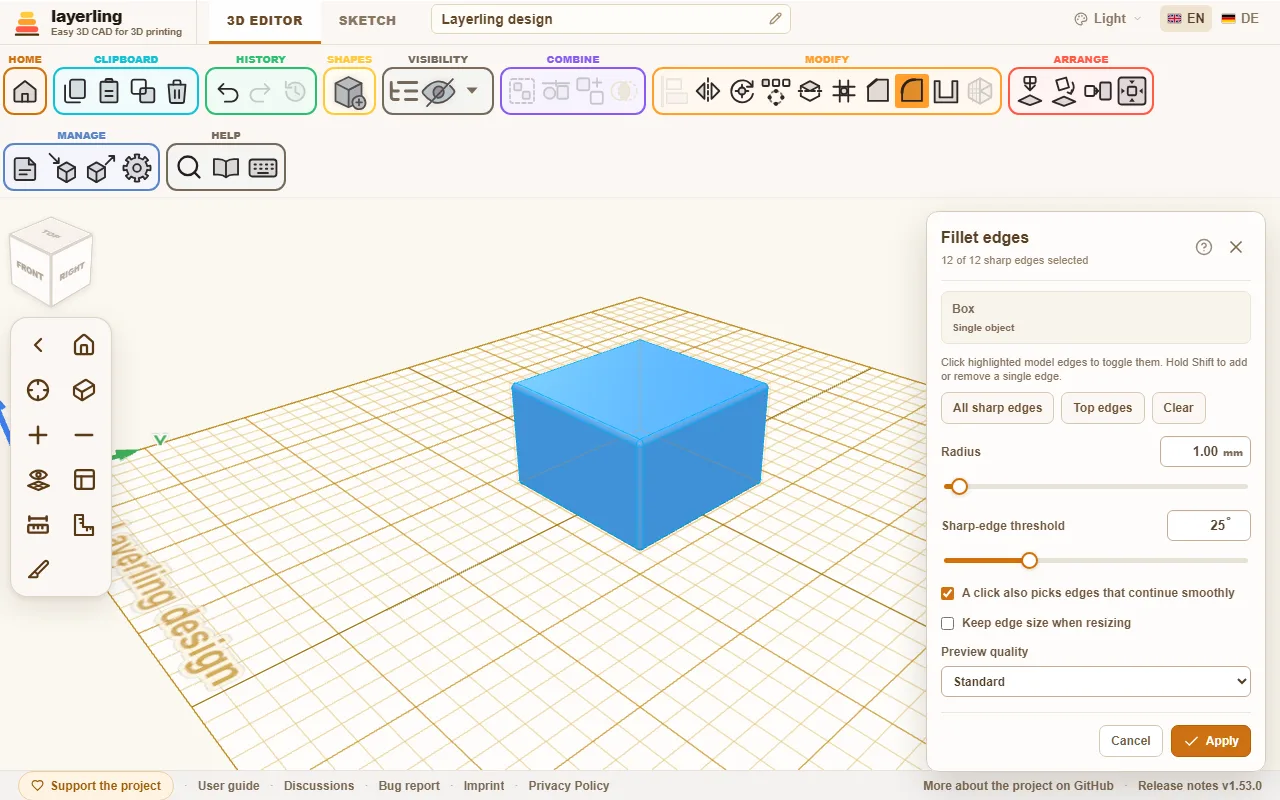
The panel sits at the top right. If it covers edges you want to click, drag it away by its title bar; it opens there next time too, and so do „Wydrąż” and „Szyk”. Double-click the title bar to put it back.
Picking a shape from the shape list while the panel is open closes it without applying anything, and the edges you clicked are forgotten. The click then places the new shape instead of picking edges.
In the panel you find:
- „Wszystkie ostre krawędzie” selects every edge at once, „Wyczyść” empties the selection.
- „Promień” for the fillet. For the chamfer you set „Odległość” or „Kąt”.
- „Próg ostrej krawędzi” decides which edges count as sharp at all. A value of 25° treats only clear kinks as edges and leaves flat transitions alone.
- „Górne krawędzie” picks only the edges along the very top of the body. It is the quick way for a cookie cutter: build the outline in a sketch as a stroke, then chamfer the top edges. „Kąt” sets how steep the chamfer is; it cannot reach further than the wall is thick.
- „Tylko widoczne krawędzie” hides the edges that lie behind the body from where you look. By default every edge shows through the body, which gets confusing on a busy part; with the switch on you see, and can click, only the edges facing you. Turn the view to reach the others. An edge drawn in red (see below) always shows.
- „Kliknięcie wybiera też krawędzie, które płynnie się przedłużają”: a click then also picks edges that flow smoothly into each other, for example all edges around a face with rounded corners. The switch only decides what a click picks: the CAD kernel always carries a chamfer or fillet on along such smoothly continuing edges. The panel tells you along how many more edges that happens.
- „Zachowaj rozmiar krawędzi przy zmianie rozmiaru” keeps the chamfer or fillet as large as it is, even if you scale the body later.
- „Jakość podglądu” („Szkicowa”, „Standardowa” or „Dokładna”) decides how finely the preview is calculated. For difficult parts „Szkicowa” is faster.
While you adjust the size, layerling recalculates the preview. It can take a moment. You may keep adjusting; the last value you chose is what gets calculated.
If the size is too large for the edge, layerling says so and suggests a smaller value. Often one or two millimetres less will do. At sharp angles a fillet needs more room than its radius suggests. On a small screen the panel scrolls down by itself so the message is in view.
When a selection that worked fails after you click one more edge, that edge turns red and is drawn wider: it is the one that cannot be treated together with the others at this size. Click it again to take it out, or make the size smaller. If you click more edges while the message stands, the first one stays red. When there is no earlier selection that worked - the very first click, or a size you just raised - the edges that fail even on their own turn red, or all of them if it is only their combination.
The edge under the pointer is drawn wider too, so you can see which one a click will pick.
Taking an edge treatment back
A treated body can always be treated again. Select it again and open the tool - Fillet, Chamfer or Hollow, each shows the list: under „Cofnij obróbkę krawędzi” you see what is already on it. „Cofnij” takes back a single treatment. Note: if newer treatments lie on top, they go with it, and the panel tells you how many.
Next to a chamfer, a fillet or a hollowing there is also „Edytuj”. It takes the treatment back the same way, but opens the tool again at once with the same edges and the old value. You change the value and apply it again: a 3 mm fillet becomes a 5 mm one without clicking the edges once more. If newer treatments lie on top, they go with it here too. This holds for edge treatments you make from now on; older ones only offer taking back, and so do single parts of a group.
On a group, say a cylinder with a hole, the treated edge belongs to the finished body, not to one of its parts. So the group becomes a single body, and „Rozgrupuj” is no longer available. Take the treatment back as described above and the group returns with all its parts. The easiest way is to treat edges last. That goes for threads too: the edge tool takes a thread as its exact body, so a block with a tapped hole in it gets its edges rounded with the thread in place. Working out a thread's edges takes longer than for a plain shape, a few seconds for an M6 and about half a minute for a G1/2 pipe thread.
A part imported as STEP keeps its CAD geometry too: chamfers, fillets and hollowing work on the body from the file, however finely the part is drawn on screen. STL, OBJ and 3MF bring only triangles, and a finely drawn part can be too dense for the edge tool. If a part is also available as STEP, import that.
Hollowing bodies
Boxes, cups, cases and covers have one thing in common: they are empty inside, with walls of equal thickness. That is exactly what „Wydrąż” does.
- Select the body and click „Wydrąż”, or right-click the body and pick it from the menu.
- Set the „Grubość ścianki”.
- Under „Otwarte strony”, switch on the sides that stay open: „Góra”, „Dół”, „Przód”, „Tył”, „Lewo” or „Prawo”, as many as you like - „Przód” alone makes a slot for a drawer, „Lewo” and „Prawo” a tunnel. With no side switched on the body stays closed all round, with a cavity in the middle.
- Decide whether the „Krawędzie wewnętrzne” should be „Zaokrąglone” or „Ostre”.
- Click „Wydrąż”.
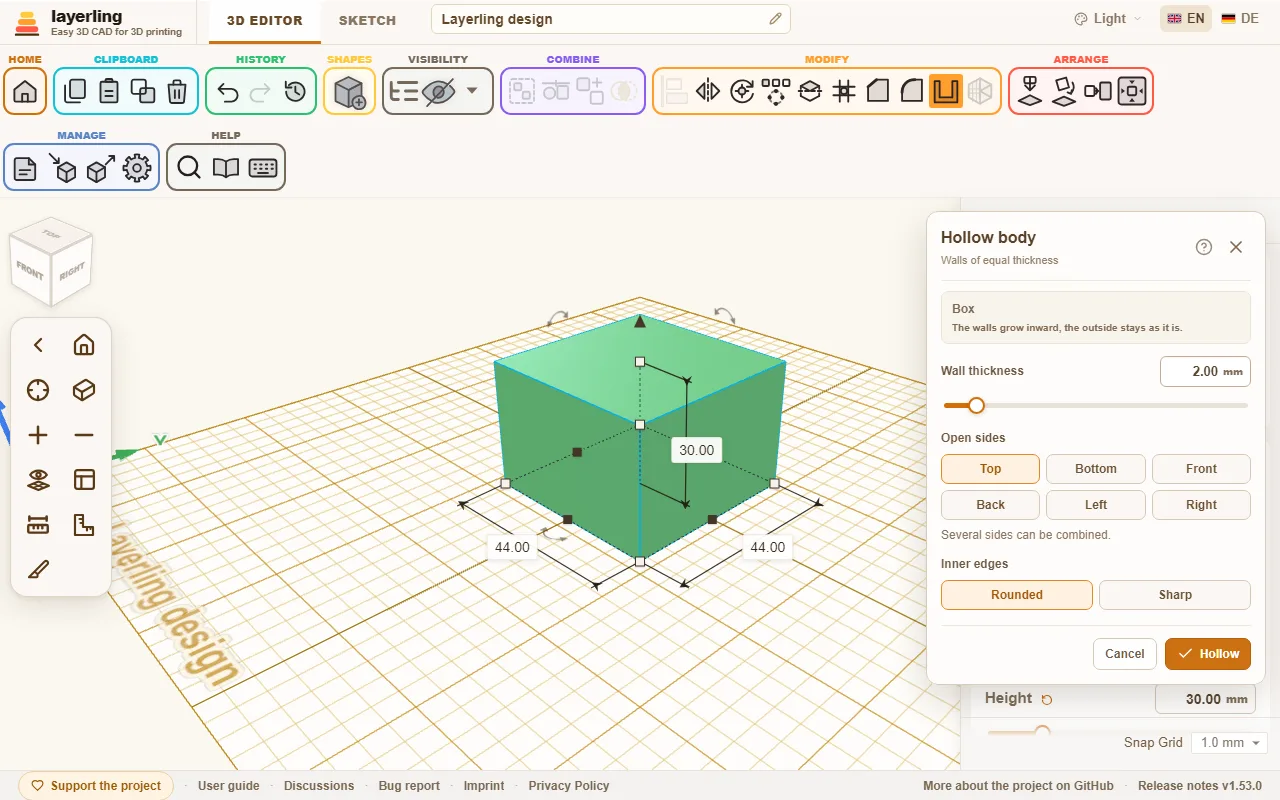
The walls grow inward. The outside stays as it is.
The „Krawędzie wewnętrzne” only matter where the inner walls move apart - at a step in the body or around an opening. The corners of the cavity of a plain box are always sharp, with both settings. For a rounded inside, round the outside edges of the body first (see above), then hollow it: the inside follows with the radius minus the wall thickness. If the rounded inside cannot be built, which can happen with an outline made of very many short straight pieces such as a traced drawing, layerling builds the same hollow body with sharp inner corners instead.
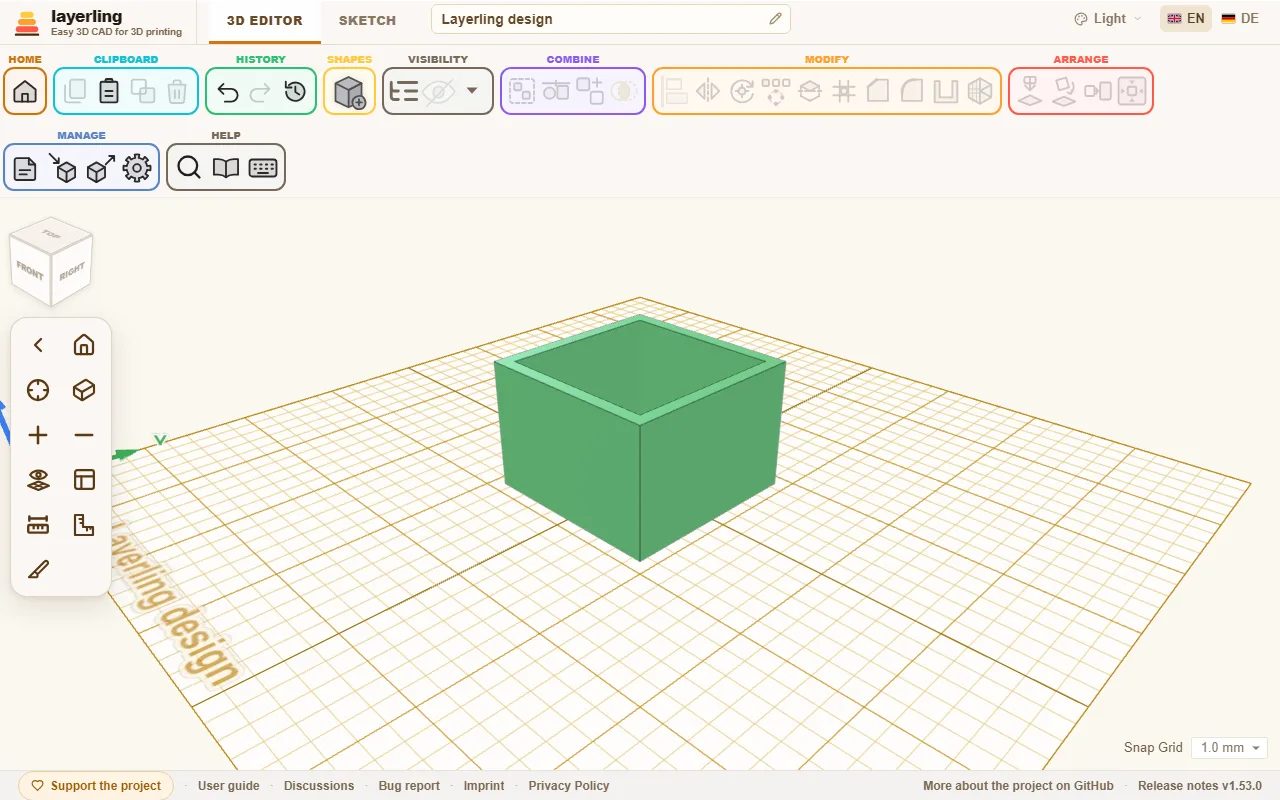
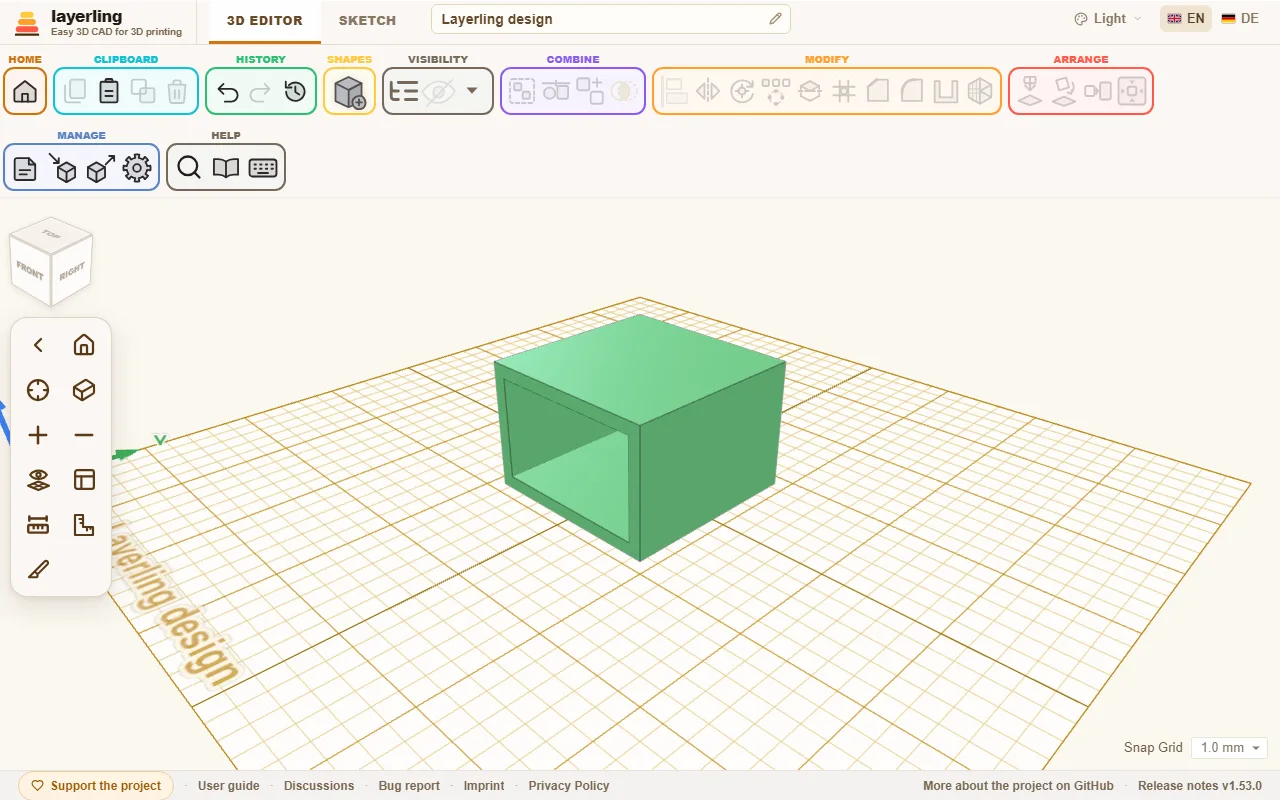
For every open side, the body needs a flat face at its very edge on that side. Spheres and free-form shapes therefore cannot be hollowed this way. If the wall is too thick for the body, layerling tells you and asks for a thinner one.
A body with a pocket - a block with a hole that does not go all the way through, made by grouping a box with a raised hole - can be hollowed too, with the top open: the walls round the pocket are hollowed as well, so a ring of cavity stays between the outer wall and the pocket, open at the top, and a thin cavity lies under the pocket's floor.
Bodies that end in a point, such as a cone or a revolved triangle, have no flat face on top that could stay open. A fully closed cavity does not work there either, because a point cannot be offset inwards: even with a 1 mm wall you get the message that the walls cannot be this thick. Draw the wall into the profile before revolving instead: duplicate the outline, scale the copy down evenly, put it in the middle of the large outline and cut the large one with it, then revolve the whole (chapter Sketches, section Revolve). The distance between the two outlines is the wall thickness.
If you resize a hollowed body later, layerling hollows it again at the new size right away. The wall stays as thick as you chose, round bodies included. A cylinder you pull further one way than the other becomes an ellipse.