
Getting started
From a blank sheet to your first part for the 3D printer, in five minutes, with no account and nothing to install.
Ten rozdział nie jest jeszcze przetłumaczony na polski. Poniżej tekst angielski.
layerling is a design program for 3D printing that runs right in your browser. You build a part from simple shapes, cut holes into it, round the edges and send it to your slicer. There is nothing to install and nothing to sign up for. What you build stays on your computer.
Creating a design
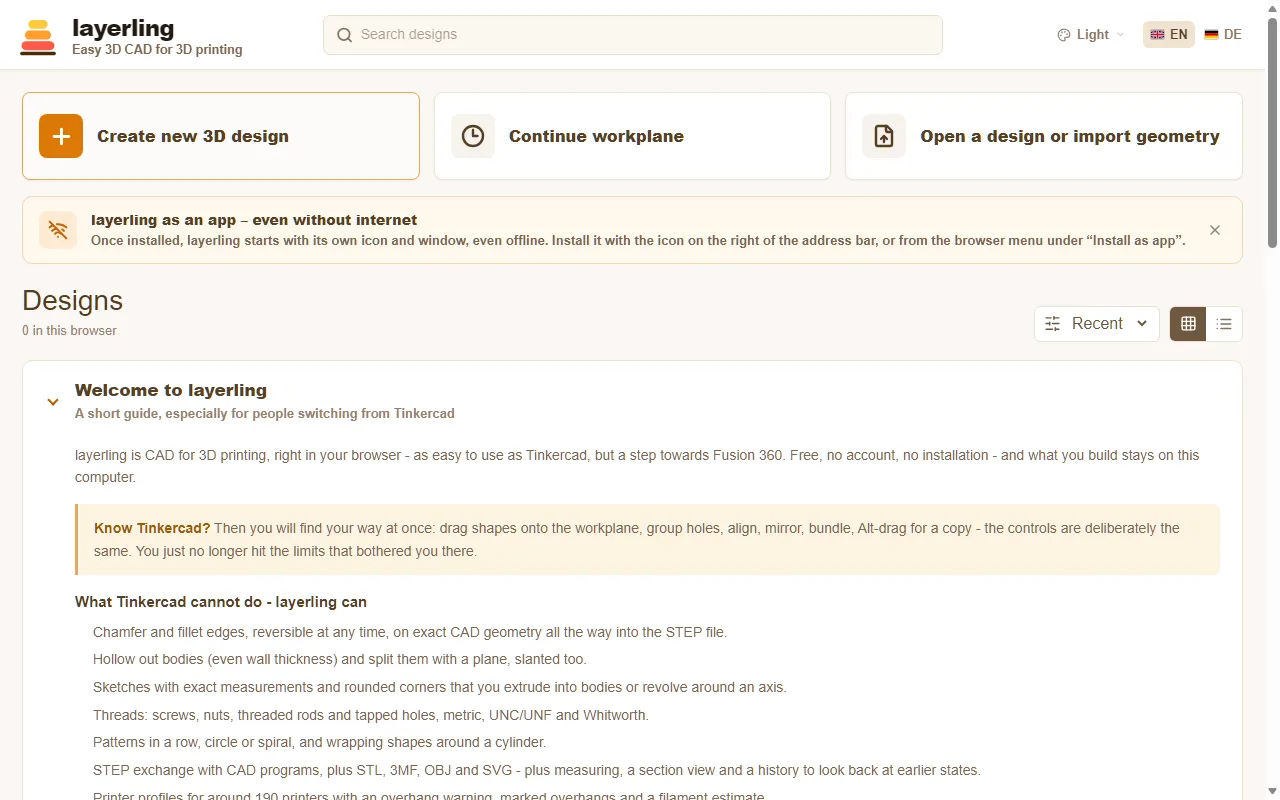
Open layerling.com. On the start page click „Utwórz nowy projekt 3D”. The editor opens with an empty workplane, the grid on which everything takes shape.
If you already have a file to continue with, use „Otwórz projekt lub zaimportuj geometrię”. That works for layerling designs (.lyl) as well as STL, OBJ, 3MF, STEP or SVG files.
All your designs later appear on the start page with a preview picture. They are kept in your browser's storage and saved automatically after every change, so there is no save button. How to pack designs into a file and pass them on is covered in Files and saving.
The editor at a glance
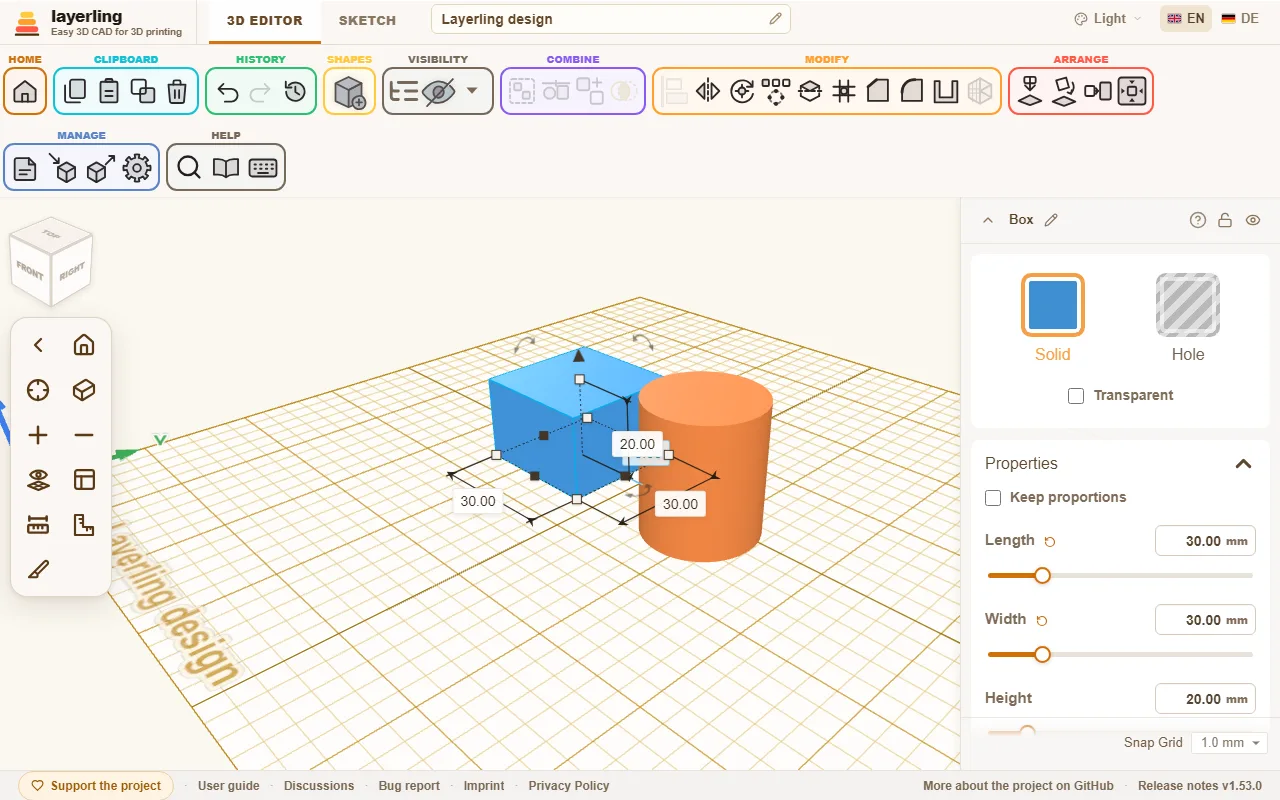
- On top is the ribbon. It is sorted by task: „Schowek”, „Historia”, „Kształty”, „Widoczność”, „Łączenie”, „Modyfikuj”, „Rozmieść”, „Zarządzaj” and „Pomoc”. Hover over an icon to see its name. Wherever you see a small question mark, for example in a shape's settings, in the shape library or in the tool panels, it leads straight to the matching chapter of this guide.
- In the middle lies the workplane. This is where you place shapes, pull them into form and see the result.
- On the right appear the settings of the selected shape: colour, dimensions, position and whatever else makes up the shape. Typing numbers is more exact than dragging.
- On the left are the camera controls with the view cube above them. They move you around the scene, more in View and workplane.
- At the very top you switch between „Edytor 3D” and „Szkic”, rename the design and choose language and colour scheme.
Your first part
As an example, we build a cube with a hole.
- Click „Dodaj kształt” in the ribbon and pick „Prostopadłościan”. The shape now hangs on your mouse pointer. A click on the workplane sets it down.
- On the right, set the dimensions, for example 40 mm long, 40 mm wide and 20 mm high.
- Place a „Walec” in the middle the same way, 14 mm across and 30 mm high. It should be taller than the cube so it reaches all the way through.
- Select the cylinder and click „Otwór” on the right. It turns see-through: the solid has become a tool that takes material away.
- Select both shapes and click „Grupuj”. The cube now has a hole.
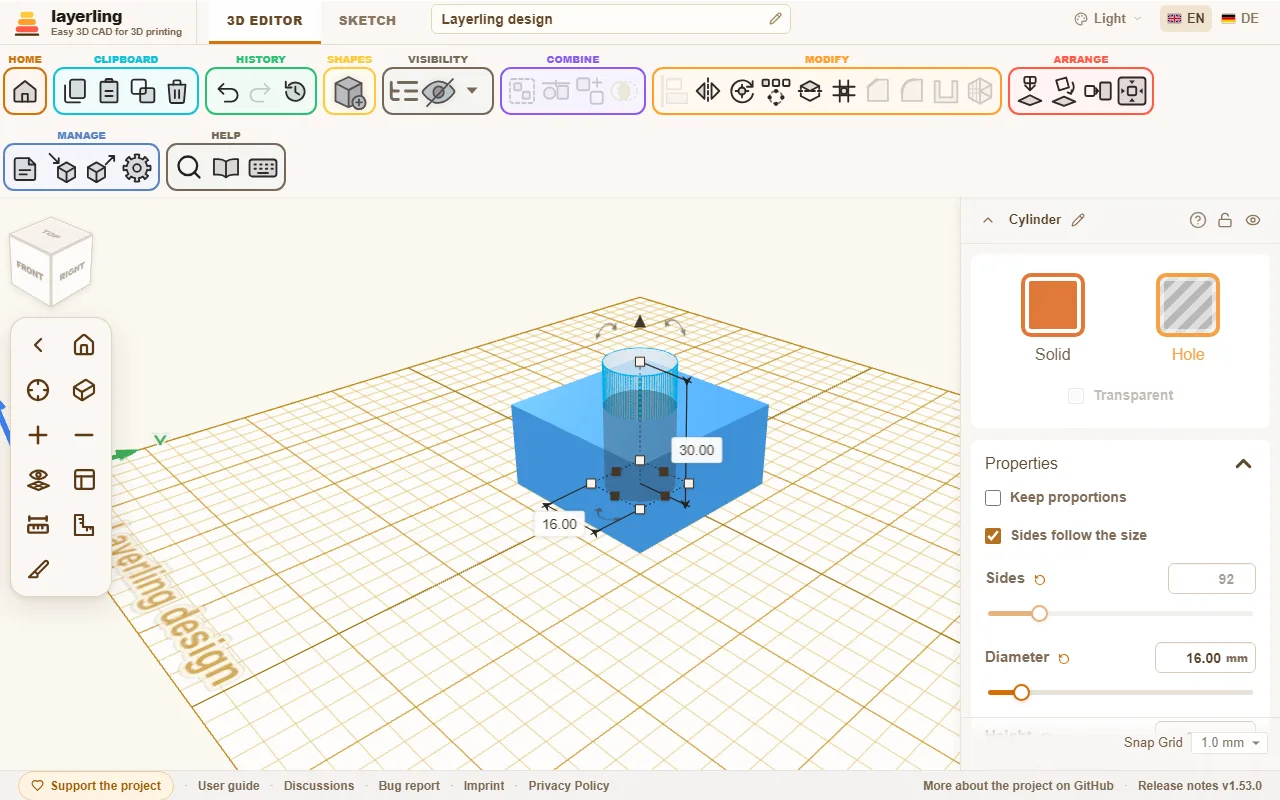
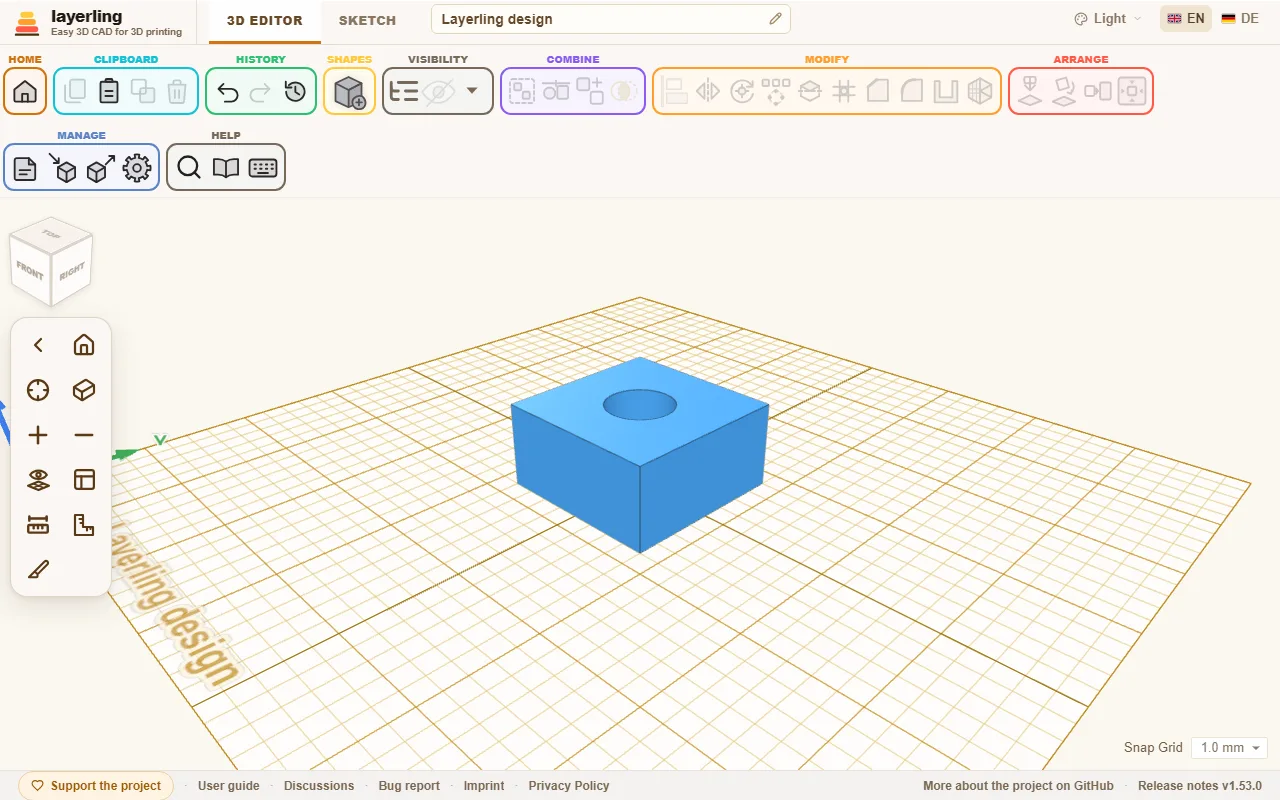
This is how bores, slots and pockets are made. The chapter Solids and holes explains it in detail.
New since your last visit
When you open layerling again after an update, a card on the start page lists what has been added since you were last here: every version since then, the newest first. After a long absence you scroll down inside the card. Below them, „Pokaż wcześniejsze wersje ({count})” adds the versions from before your last visit too. Close it with „Rozumiem” and it stays away until the next update. „Co nowego?” in the footer of the start page shows the latest additions again at any time. The browser remembers the last version you saw, and nothing about you leaves it.
On a copy of layerling on your own computer or server, the notice "Update available" has a button, „Podgląd: co przynosi aktualizacja?”, that lists what the update brings before you install it. The list is fetched from GitHub only when you press the button.
From design to print
When your part is done, click „Eksportuj”, choose STL or 3MF and download the file. Open it in your slicer, for example Bambu Studio, PrusaSlicer, OrcaSlicer or Cura. If you choose your printer in the settings, you can see while building whether the part fits on the print bed. More in Printing.